How do I create a ghost mannequin image?
Updated on November 3, 2026
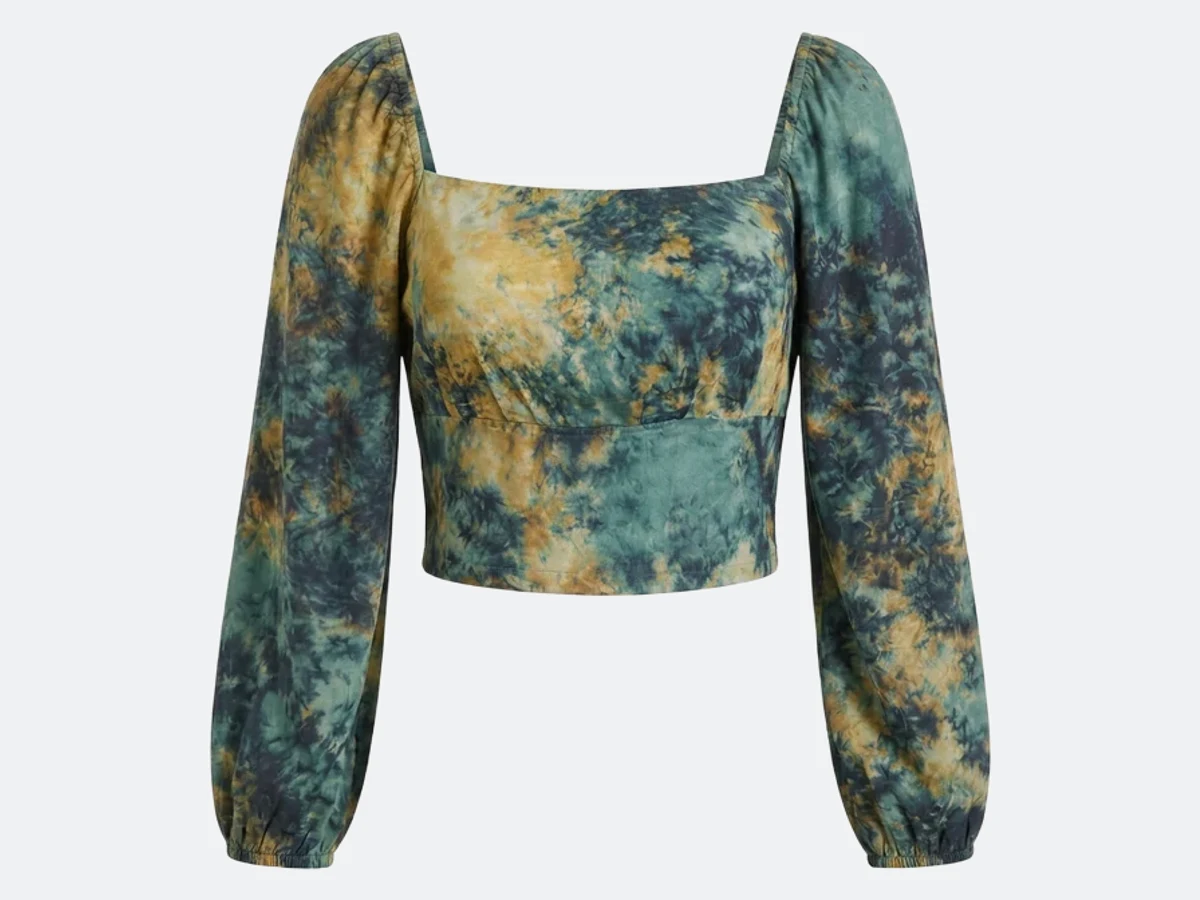
Open the Image to Ghost Mannequin workflow, upload one photo of the garment, worn or on a hanger, name the product to recreate and press Generate. The garment comes back alone, hollow, with its inside neck and shape, on a clean background. It costs 1 credit in Standard and 3 credits in Pro, on every plan.
- 1.Open the studio and click Workflows.
- 2.Find Image to Ghost Mannequin and press Open.
- 3.Upload the photo of the garment in the Image slot: a photo of someone wearing it, a hanger shot or a flat lay.
- 4.In « Product to recreate in the image », name the piece, for example « the denim jacket ». This matters when the photo shows a whole outfit.
- 5.Choose the format, or leave it on auto to keep the shape of your photo.
- 6.Pick Standard AI or Pro AI and press Generate.
Good to know
- One garment per image. For a top and trousers, run the workflow twice, naming each piece.
- A sharp photo where the whole garment is visible gives the most faithful result: colour, print and details are kept from your photo.
- The result can go straight on to a product page with Publish, or into other workflows, such as a 360 video of the product.
- If a detail comes out wrong, generate again or try Pro, which follows small details more closely.
- A generation that fails is refunded automatically.
Still stuck? Contact support