How do I make a product video from one photo?
Updated on November 3, 2026
What you need
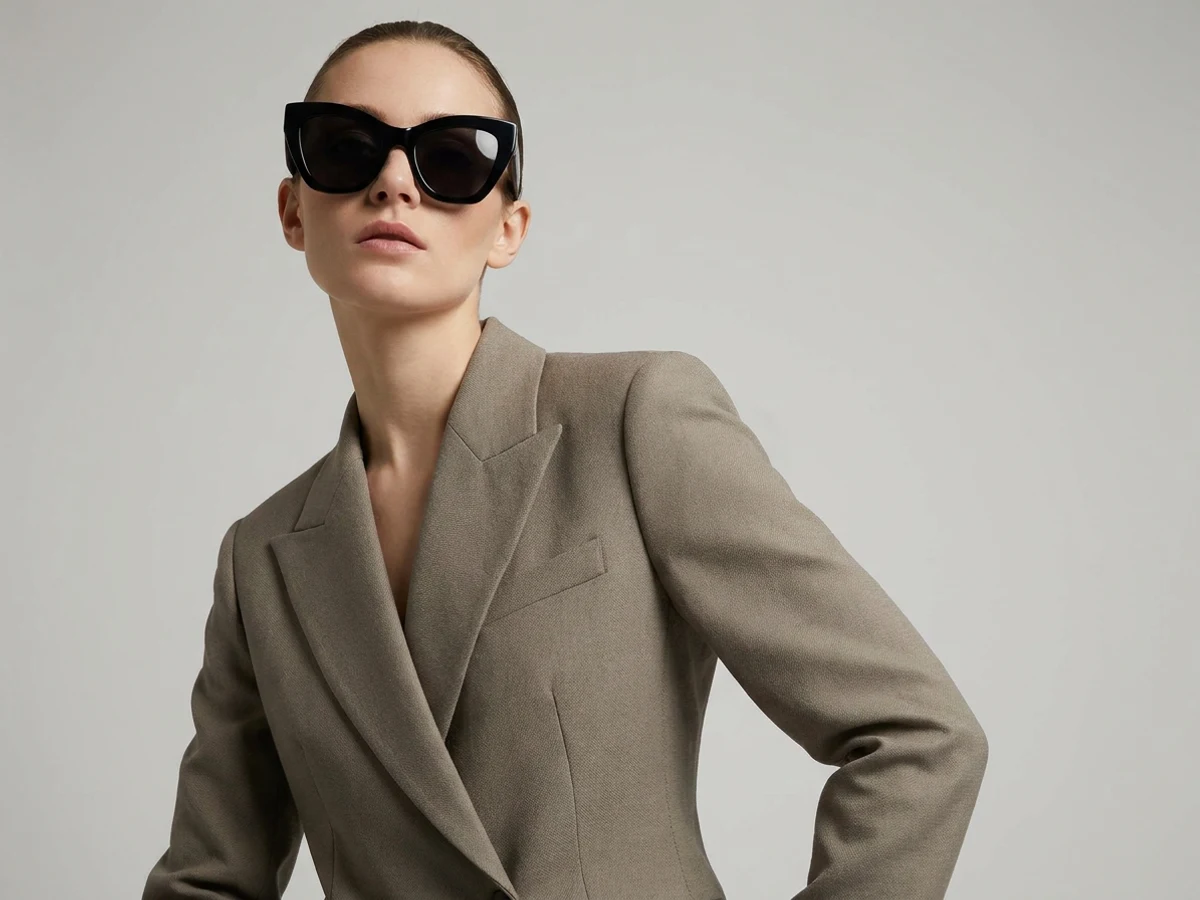
- One clear still. A model shot, a product on a plain background, a ghost mannequin, or a design made in the studio. The clearer the subject, the cleaner the motion.
- The right shape from the start. The clip keeps the framing of your photo, so a vertical photo is the best start for a 9:16 reel and a horizontal one for a 16:9 banner.
- A photo with room to move. A model cut at the knees cannot walk forward convincingly; a full body shot can.
- A file the studio accepts: JPG, PNG or WebP, up to 20 MB. A photo already in your gallery needs no upload.
- What works less well: several people in one frame, small text or logos you need to stay perfectly readable, very busy backgrounds.
Step by step
- 1.Open the studio and click the Video icon at the top of the panel, next to Workflows.
- 2.Leave Type on AI Video and Source on Image.
- 3.Add your product photo as the Start image. An End image is optional: the clip then travels from the first picture to the second.
- 4.Describe the motion in the prompt, for example « Fashion model takes a few steps forward, slow push in ».
- 5.Choose the length under Time and the format of the destination: 9:16, 3:4, 1:1, 4:3 or 16:9.
- 6.Under Resolution, keep 720p for Standard or pick 1080p for Pro.
- 7.Press Animate. The clip appears in your gallery, next to the photo it came from.
Type
AI Video makes a clip from your photo or your words. The same menu also holds Motion Design, Soundtrack and Voice, which are other kinds of creation; for a product clip, stay on AI Video.
Source
Image starts from a picture. Video starts from a clip you already have and edits it instead. Keep Image for a video from one photo.
Prompt
What should move, and how the camera behaves. Name the movement of the person (« turns slowly to show the back of the coat »), of the fabric (« the skirt moves in the wind ») and of the camera (« slow push in », « camera circles around »). Without a Start image, the prompt alone describes the whole video and the button reads Generate instead of Animate.
Start image and End image
The Start image is the first frame of the clip. The End image, optional, is the last one: the clip finds its way from one to the other, useful to go from a front view to a back view of the same look.
Time
5, 10 or 15 seconds. Price follows the length: in Standard, 11 credits for 5 seconds, 22 for 10 and 33 for 15. A short clip is the cheapest way to test a motion before making the long one.
Format
9:16 for reels and stories, 3:4 and 1:1 for feeds, 4:3 and 16:9 for product pages, banners and YouTube.
Resolution and quality
720p is Standard, at 2.2 credits a second, with fast generation. 1080p is Pro, at 4.4 credits a second, and needs a plan. Ultra also renders 1080p with a deeper process, at 23 credits a second, for a hero clip.
Audio
Where the panel shows the Audio section, describe the sound of the clip: music, a voice, the ambience of the place. The default is no music and the natural sounds of the scene.
Good to know
- Each run gives a different take. Generating a second version of the same photo is the normal way to get the movement you want.
- From your gallery: open a creation and choose to animate it; the studio fills the Start image for you.
- Guided video workflows ask only for what they need, such as Model Walk or Product 360, and some go up to 30 seconds.
- A generation that fails is refunded automatically.
- The rest of the page: see AI fashion video from an image.