How do I turn a flat lay photo into an on-model image?
Updated on November 3, 2026
What you need
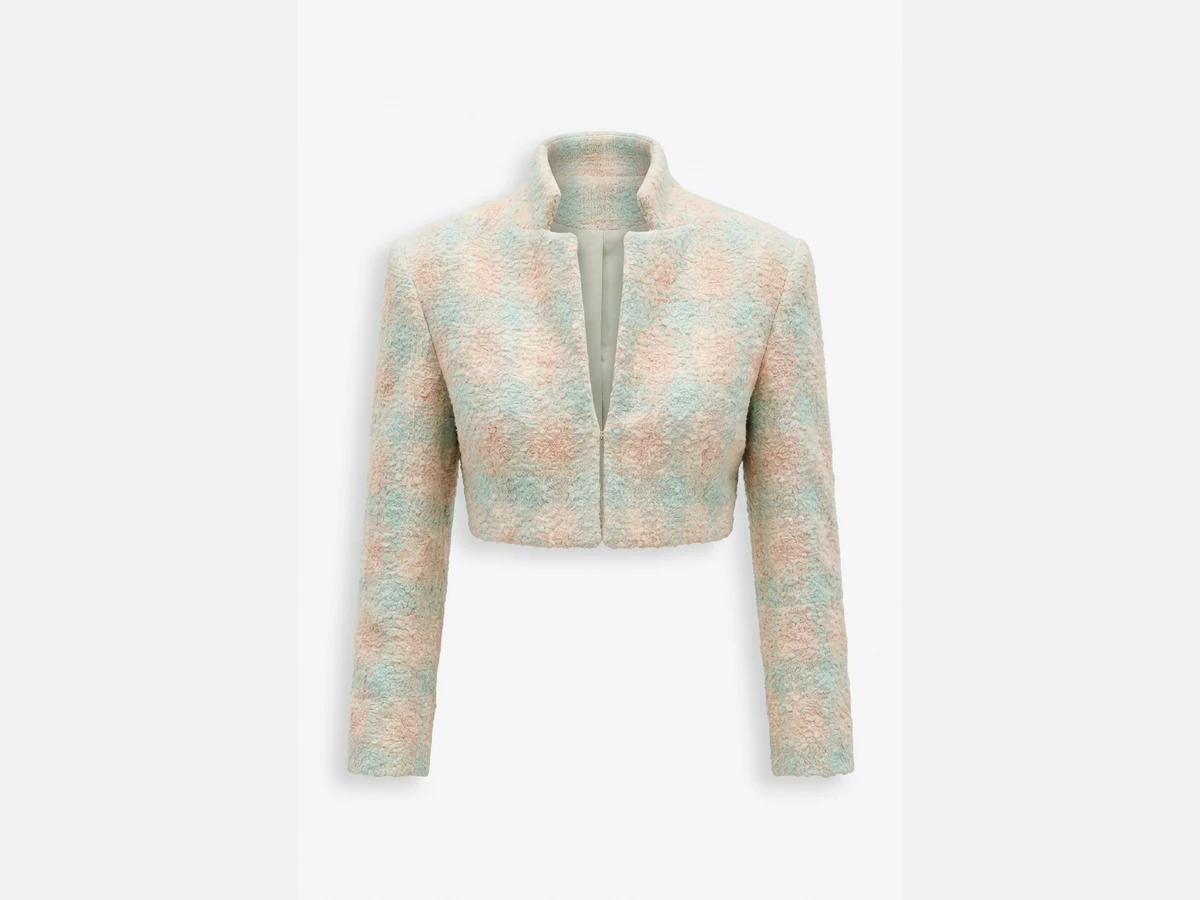
- A photo of the product alone. A flat lay shot from above, a garment on a hanger, a ghost mannequin shot or a packshot all work. The workflow reads the piece, not the way it was photographed.
- The whole piece in frame. Collar, hem, both sleeves and the closure visible. What is cut off in your photo has to be guessed.
- Even light and a plain ground. White, grey or any flat colour. You do not need to cut the background out: the workflow keeps the garment and drops the rest.
- The real colour. The model wears the colour of your photo, so avoid a yellow evening light or a strong filter.
- A file the studio accepts: JPG, PNG or WebP, up to 20 MB. A phone photo is enough when it is sharp.
- What works less well: a garment folded in on itself, a sleeve hidden under the body, a piece photographed in a stack with others, or a very small photo where the print is blurred.
Step by step
- 1.Open the AI model studio and press Workflows, then choose Product to Model.
- 2.In Products, click the first slot and upload your flat lay photo. Add up to two more pieces in the other slots to dress a full outfit.
- 3.In Model, keep Text and set Gender, Age, Body shape and Origin, or switch to Image to use a model photo you already have.
- 4.Pick a Framing at the top of the panel, for example Full body for a dress or Upper body for a shirt.
- 5.In Scene, describe the background in words, for example White studio background, or switch to Image to upload a scene photo.
- 6.Choose Standard, Pro or Ultra and press Generate. The price in credits is written on the button.
Products
Up to three slots, and at least one is required. One piece gives a picture of that piece; two or three pieces are all worn together, a top with trousers and a jacket for instance. Use the front of the garment in the first slot. A second photo of the same piece, its back or a detail, can go in another slot to help the workflow read it.
Complete the look / add details
A box under Products for what you did not photograph: « white leather sneakers, a thin gold belt, a camel coat over the shoulders ». It dresses the rest of the outfit in words so your piece is not shown alone. Leave it empty and only your own pieces are described.
Framing and Angle
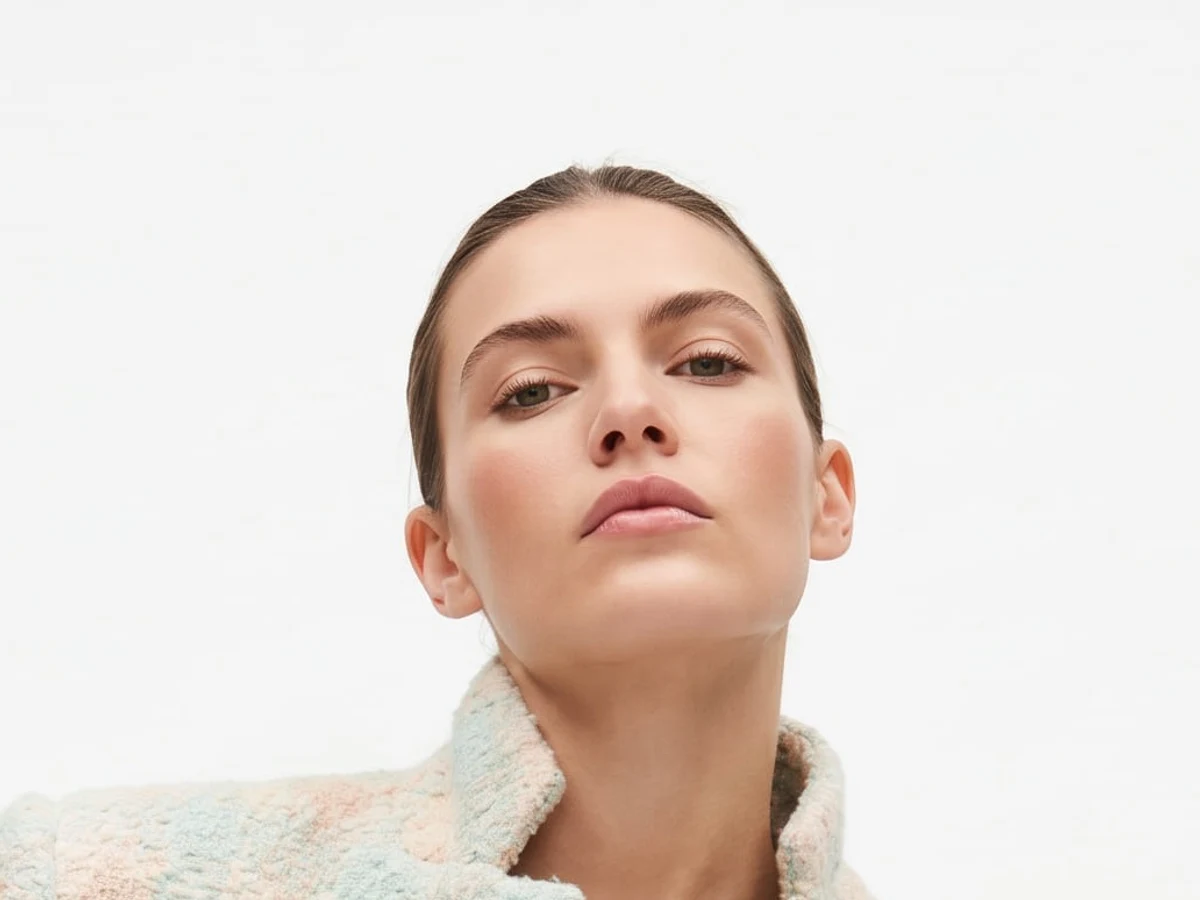
Framing sets how much of the person is in the picture: Auto, Full body (outfits, dresses, coats), Upper body (tops), Portrait on face and neck, Close-up on the hand, Close-up on the feet, or Product detail worn on the body. Angle sets where the camera stands: Auto, Eye level for a classic product page view, Slightly above, Slightly below for a longer silhouette, or Low angle from the ground for trousers and shoes.
Model
On Text, you describe the person with Gender, Age (from 3 to 60), Body shape (Small size, Mid size, Plus size or Pregnant) and Origin. Under it, Physical features & pose takes short sentences such as « Short curly hair, chin up, back view ». On Image, you put a photo of a person in the slot and the garment is worn by that person: a face from the Models presets, a model you generated before, or someone whose image rights you hold.
Scene
Text describes the place around the model, « White studio background » or « a sunny terrace with white walls ». Image takes a photograph of a place, and the model is set inside it. Nothing written means a clean studio.
Format and Visual style
Format picks the shape of the image, from 9:16 for a story to 21:9 for a banner, with 4:5 and 3:4 for product pages. Visual style applies one of your saved styles, light, colour and mood, so a whole range looks shot on the same day; it needs a plan.
Standard, Pro or Ultra
Standard makes a 1K image fast, for 1 credit. Pro makes a 2K image and thinks before generating, for 3 credits, and needs a plan. Ultra makes a 4K image with a deeper process, for 7 credits, and needs the Pro plan.
Good to know
- Check before you publish. Look at the hands, the seams and the closure, and press Generate again if something is off: each run is a new take.
- The same person on every product: see how to keep the same model across a whole collection.
- A whole catalogue at once: bulk generation runs this workflow on up to 30 photos on the Pro plan, 50 on Business and 100 on Enterprise.
- A failed generation is refunded automatically.