How do I create AI fashion model images in bulk?
Updated on November 9, 2026
- 1.Open the Studio and press the Bulk generation button, right of the project filter above your creations.
- 2.In Select a workflow, choose Product to Model, or Virtual Try-On to keep one person on every product.
- 3.Drop your product photos in the upload zone, or press Choose from my library.
- 4.Set the model, the Framing and the scene once: they apply to every image of the batch.
- 5.In Destination project, keep + New project and name it, or pick an existing project.
- 6.Choose Standard, Pro or Ultra in AI selection, and a Format.
- 7.Press Run this workflow for your images. The button shows the number of images and the total in credits.
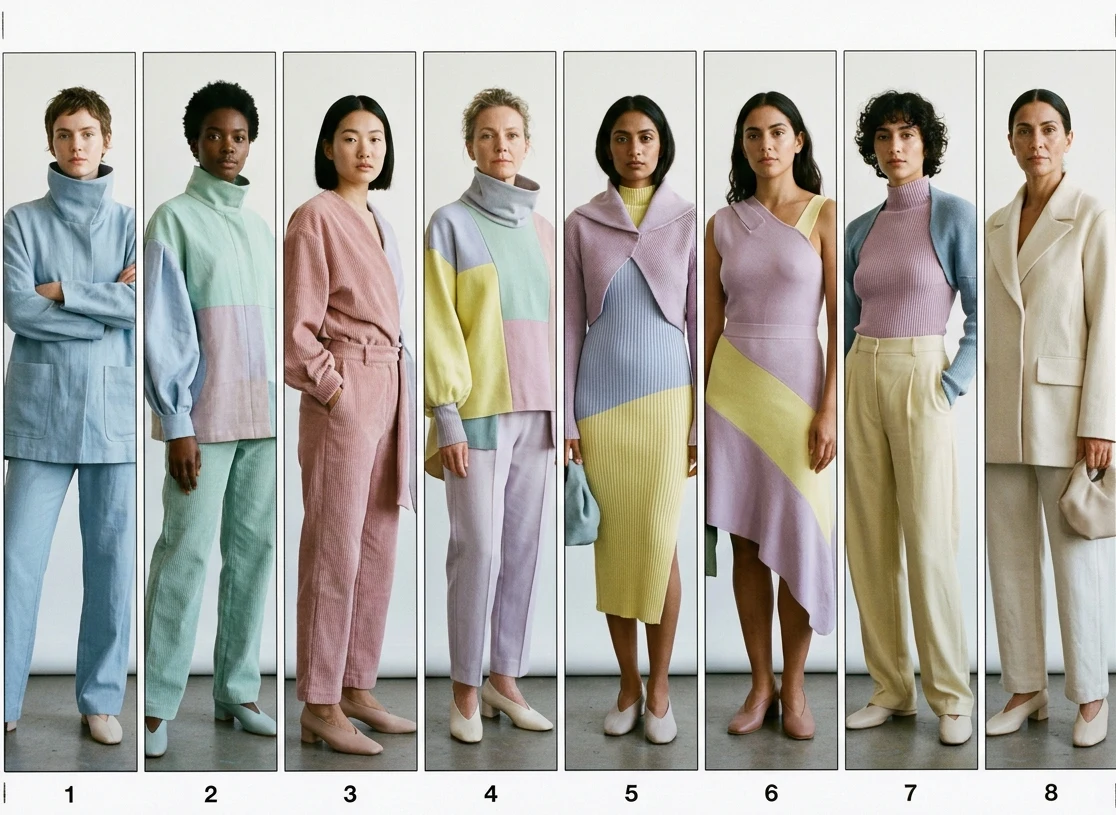
Product to Model or Virtual Try-On?
Product to Model creates the person from a description. In bulk, you set a Model profile once (Gender, Age, Body shape, Origin), then a line in Physical features, pose & framing and one in Describe the scene around the model, for example « White studio background ». Every product gets a model matching that profile, but the face can differ from one image to the next.
Virtual Try-On keeps one person. Add their photo once in The model wearing your products: every product in the batch is tried on that person. Use a model you generated before, a face from the Models presets, or a real person whose image rights you hold. This is the way to dress a whole collection on the same face. Why one image keeps one face is explained in How do I keep the same model across a whole collection?
The photos you upload
- One photo per product: a flat lay, a hanger shot, a ghost mannequin or a packshot, the whole piece in frame.
- PNG, JPEG or WebP, up to 20 MB per image. A ZIP of images opens into the batch.
- With a Shopify store connected, each row has a Result will go to menu: choose the product the image belongs to.
- More advice on the photo itself is in What kind of photo should I upload?
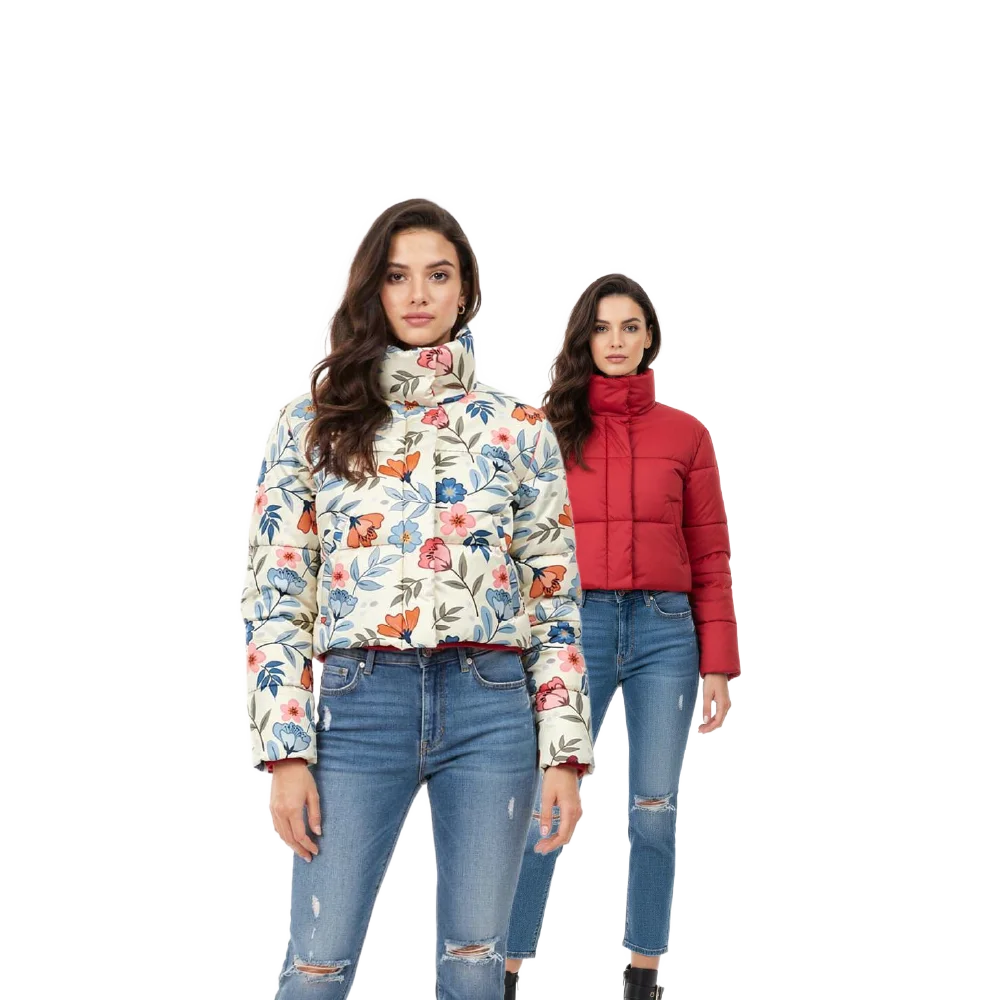
How much it costs
Each image is priced like a single generation: 1 credit on Standard, 3 on Pro and 7 on Ultra for Product to Model and Virtual Try-On. A batch of 30 products on Standard is 30 credits; on Pro, 90. Ultra makes 4K images and, like bulk, needs the Pro plan. The full price list is in How many credits does each workflow cost?
Which plan
| Plan | Images per batch |
|---|---|
| No plan or Starter | Bulk not included |
| Pro | 30 |
| Business | 50 |
| Enterprise | 100 |
Anyone can open the Bulk generation window and prepare a batch; the plan is asked for when you press Run. See Which plan do I need for 4K, video and bulk generation?
While the batch runs
The images start a few at a time. You can close the window or the page: the batch keeps going, and a progress pill next to the Bulk generation button shows how far it is. Stop cancels the images not yet started, and they are not charged. A failed image is refunded automatically. The results land in the destination project as they finish.
More than AI models
The same window runs 25 workflows on a batch, among them Swap Model, Reimagine your Model, Image to Ghost Mannequin, Image to Flat Lay, Remove Background, Enhance Photo to HD (2K/4K) and Model Walk. Workflows that need a zone drawn on each image, two photos per item or a video as input run one image at a time. See bulk generation.
Good to know
- Test on three products first. Check the face, the colour and the fit, adjust the brief, then run the rest.
- Enough credits first: a batch starts only when your balance covers its total, shown on the button.
- Work that repeats (every new product, every week) can go to your AI fashion agent: it runs the same workflows in bulk for you, on a schedule, and reports back. It comes with every account; its generations cost their usual credits.