How do I use my own model in AI fashion photos?
Updated on November 9, 2026
- 1.Open the AI model studio and press Workflows.
- 2.Choose Virtual Try-On to keep your model's face, body and pose, or Product to Model to keep the face in a new pose.
- 3.In Model, click the slot and upload the photo of your model. In Product to Model, switch the section to Image first.
- 4.In Products, upload the photo of your piece, and up to two more for a full outfit.
- 5.Pick a Framing, describe the Scene if you want one, choose Standard, Pro or Ultra and press Generate.
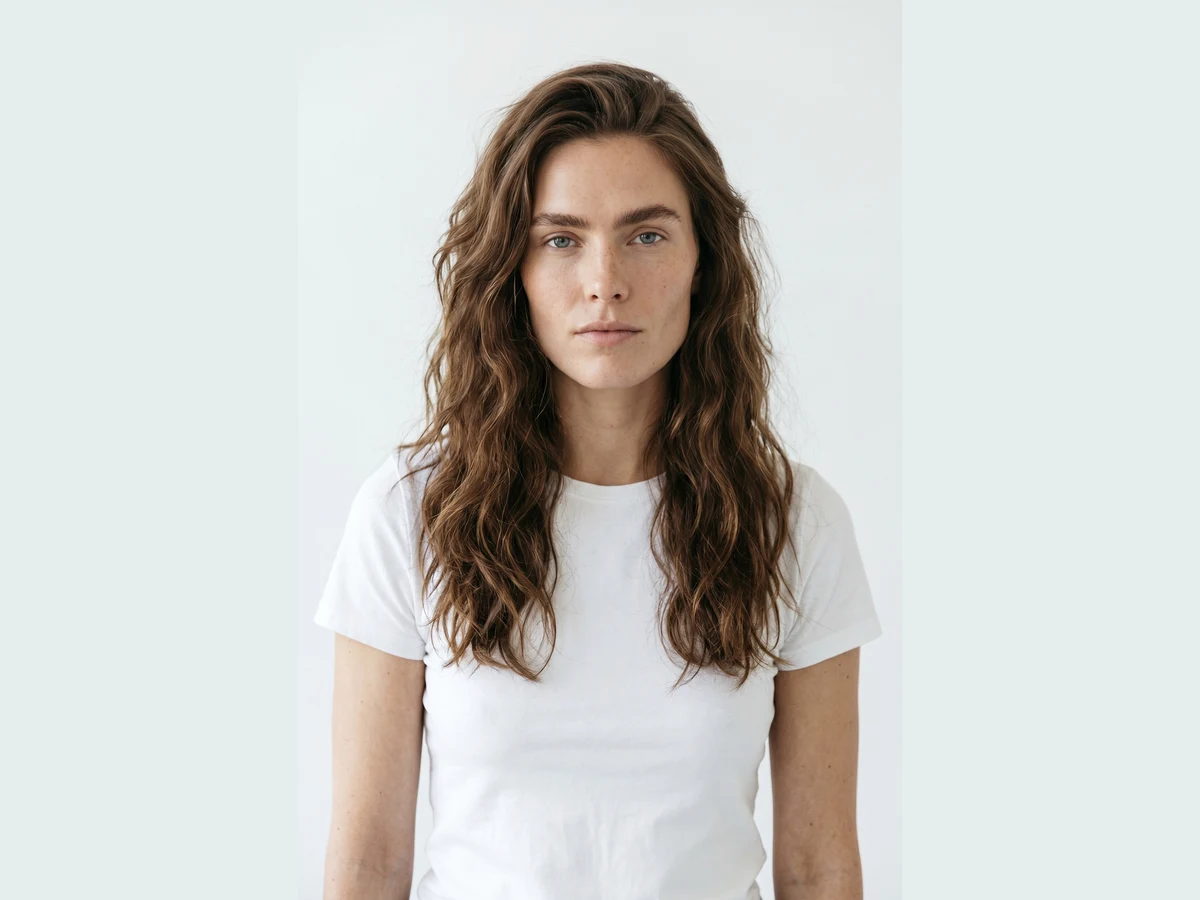
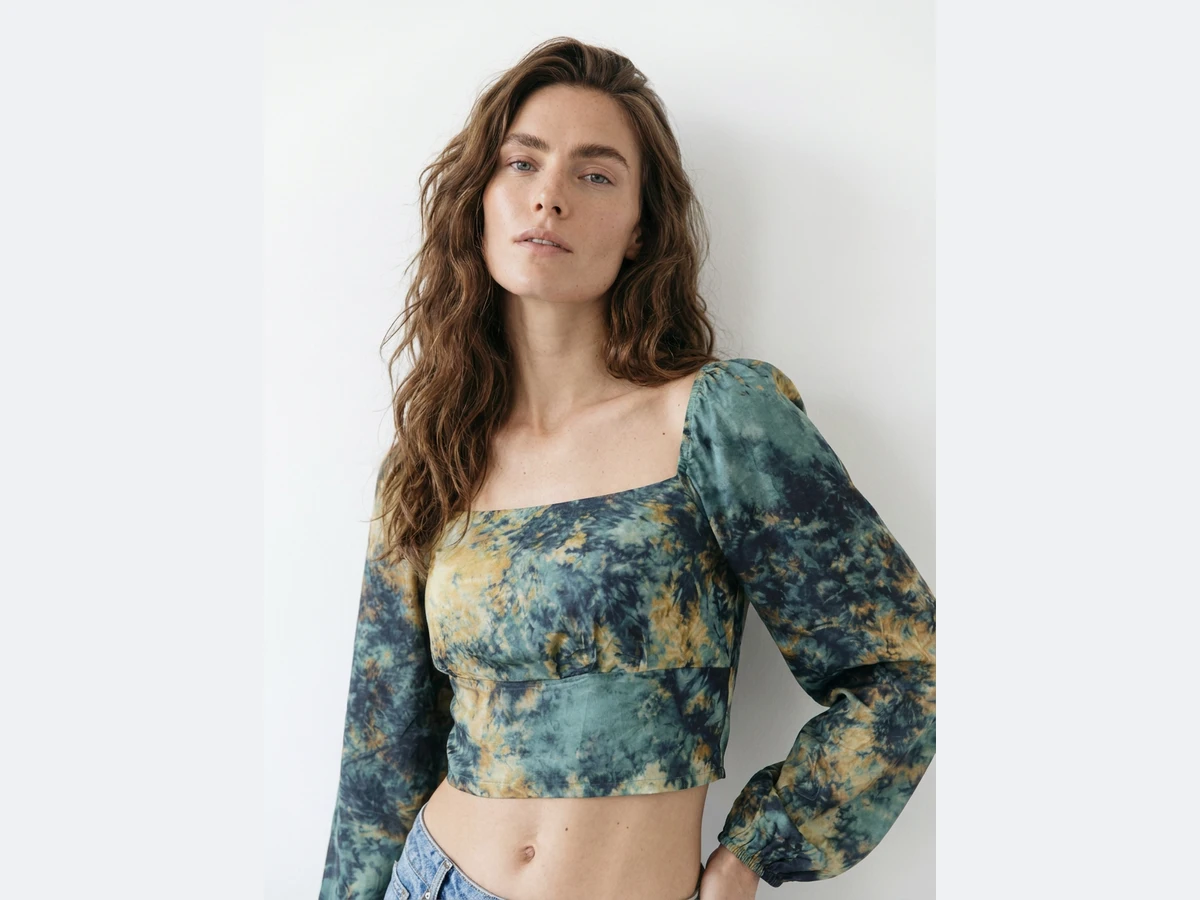
The photo of your model
- Front facing and well lit, face and body clearly visible.
- Down to where the garment ends: to the waist for a top, to the feet for a dress, trousers or shoes.
- Plain or fitted clothes, because the new piece replaces what the person wears.
- One person in the frame, sharp, not cropped at the head.
- A file the studio accepts: JPG, PNG or WebP, up to 20 MB.
- Image rights: use only a photo of someone who agreed to it, your own face, a model you have a contract with, or a member of the team.
Virtual Try-On or Product to Model?
Virtual Try-On keeps the person as photographed: face, hair, skin, body and pose. Only the clothes change. Choose it when you like the photo itself and want the same person in each piece of the range. The Model slot is required. A line in Modify physical features & pose, such as « Chin up. Hands in the pockets », changes the pose while keeping who they are.
Product to Model with the Model section on Image reads your photo as the person to dress, then builds a new picture around them from your Framing, Angle and Scene. Choose it when you want new poses and settings for the same face. The full guide to both is How do I put my clothes on an AI model with virtual try-on?
Put your model's face on an existing image
Face Swap changes only the face. It takes two images and no text:
- 1.In the AI model studio, press Workflows and choose Face Swap.
- 2.In Your photo, upload the picture to change, for example an image you generated with an AI model.
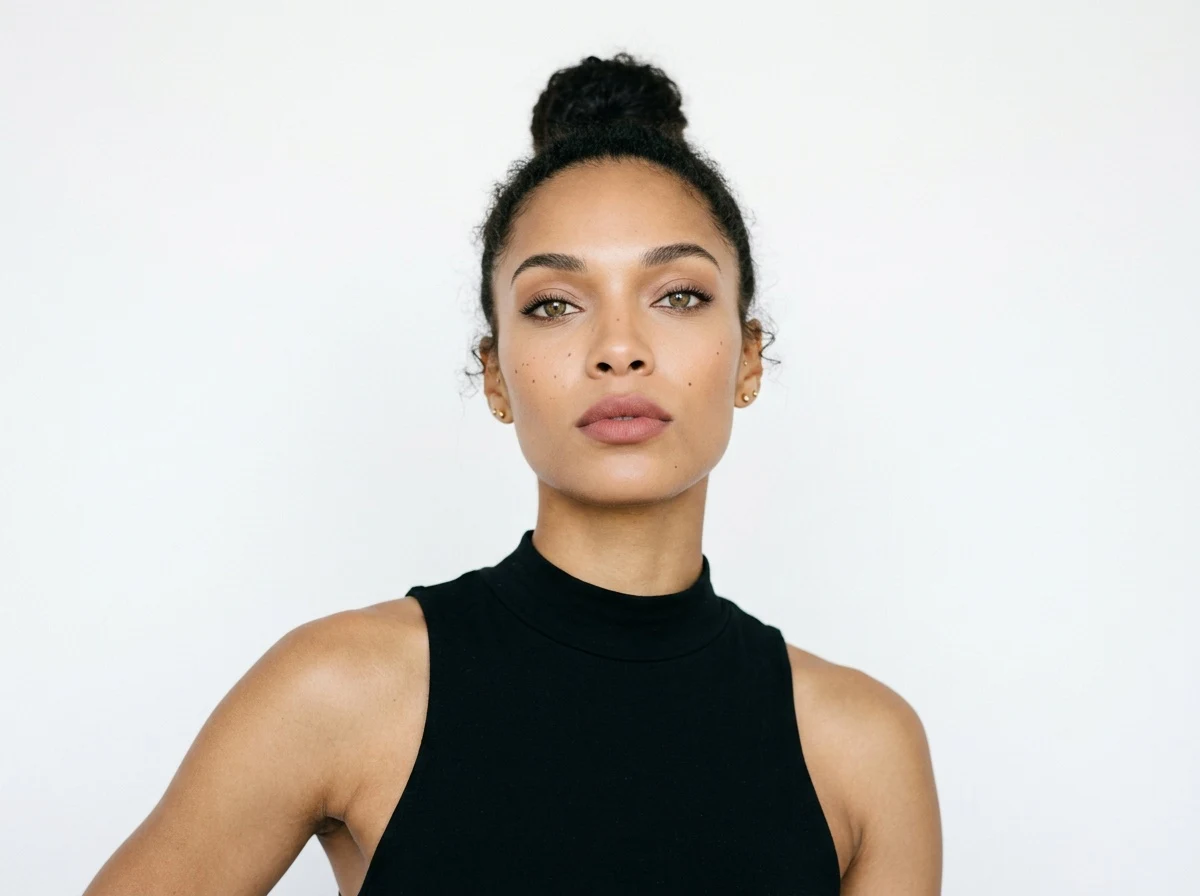
- 3.In New face, upload a portrait of your model.
- 4.Press Generate. It costs 1 credit.
The body, the clothes, the light and the background stay as they were, and the new face takes the expression of the original shot. It is also the quickest fix when a face drifted a little across a series. See face swap.
When Swap Model is the right tool instead
Swap Model works the other way round: it keeps the outfit, the pose, the light and the background of a photo, and replaces the whole person with someone you describe in Describe the new model, for example « a man in his thirties, close cropped hair ». It does not take a photo of a person, so it cannot put your own model in. Use it to show the same look on other ages, body types or markets. See swap the model and keep the clothes.
Good to know
- Keep using the same file. The same photo of your model in the slot gives the same person across the whole collection; a new photo gives a slightly different result. More in How do I keep the same model across a whole collection?
- Many products on one model: in bulk generation, choose Virtual Try-On and add your model once in The model wearing your products. Every product in the batch is tried on that person, from the Pro plan.
- Private: the photo of your model stays in your account and is never used to train anything.
- Pro and Ultra hold a face best. Pro needs a plan, Ultra and 4K the Pro plan.