How do I put my clothes on an AI model with virtual try-on?
Updated on November 3, 2026
What you need
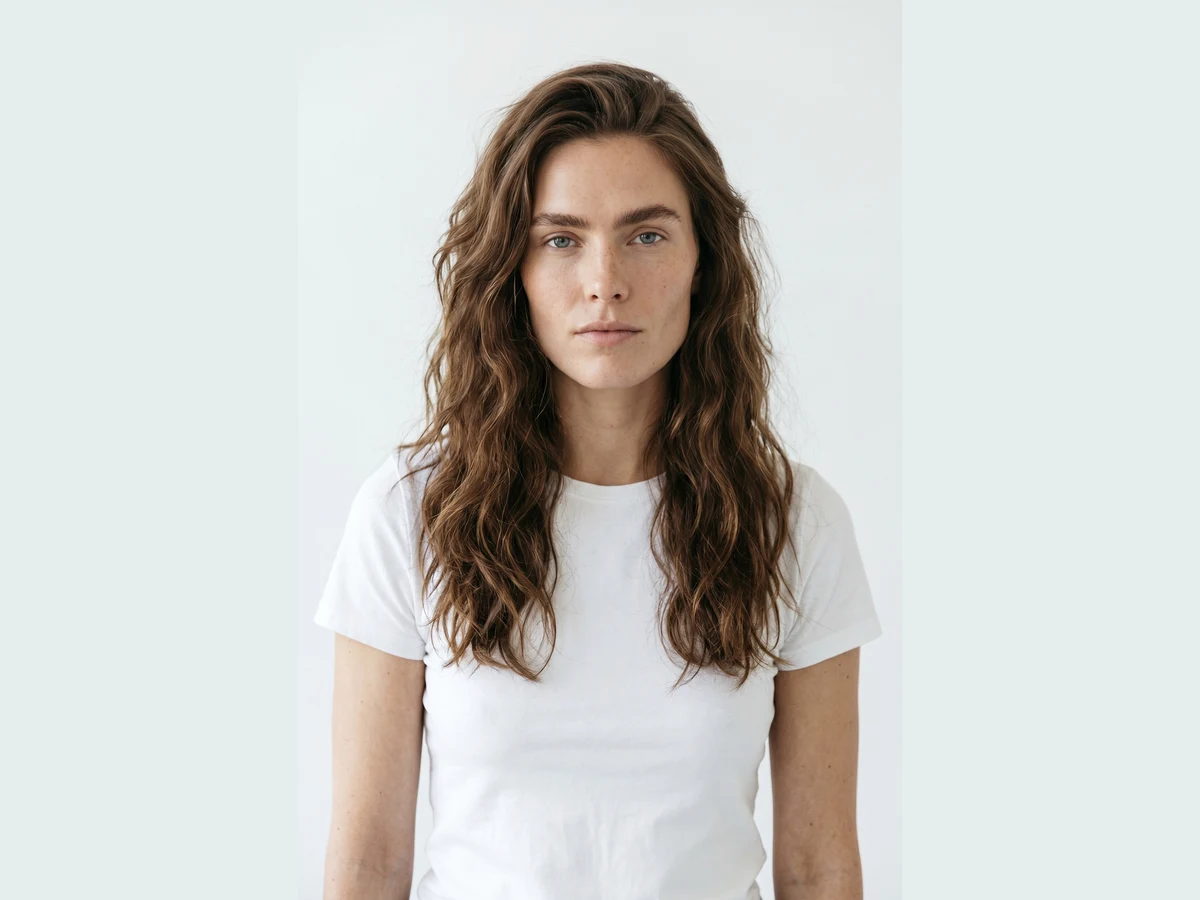
- A photo of the person. Front facing, well lit, the body visible down to where the garment ends: to the waist for a top, to the feet for a dress or trousers. Fitted or plain clothes work best, because the new piece replaces what they wear. It can be a real person whose image rights you hold, an AI model you generated, or a face from the Models presets.
- A photo of each piece. The garment alone: flat, on a hanger, on a ghost mannequin or on another model, sharp and fully in frame. The workflow copies its exact details, so collar, print and closure must be readable.
- Files the studio accepts: JPG, PNG or WebP, up to 20 MB each.
What you can try on
- Clothes: tops, shirts, knitwear, jackets, coats, dresses, skirts, trousers, jumpsuits, and full outfits of up to three pieces at once.
- Accessories and shoes: put them in Products like a garment, then choose the Framing that shows them: Close-up on the hands for rings, watches, bracelets and small bags, Close-up on the feet for shoes and boots, Portrait on face and neck for earrings, necklaces, eyewear and headwear.
- What works less well: a person photographed from far away or partly hidden, a heavy coat on the model photo when you try on a fitted top, a garment shown folded or in a pile, a piece much longer than what is visible in the model photo.
Step by step
- 1.Open the virtual try-on studio and press Workflows, then choose Virtual Try-On.
- 2.In Model, click the slot and upload a clear photo of the person, or choose an AI model from your studio or the Models presets. This section is required.
- 3.In Products, upload a photo of the garment. Add up to two more pieces to try a full outfit at once.
- 4.Pick a Framing at the top of the panel, for example Full body or Upper body.
- 5.Optionally, write a pose in the features box, for example Chin up, one hand on the hip, and describe the Scene.
- 6.Choose Standard, Pro or Ultra and press Generate. The price in credits is written on the button.
Model
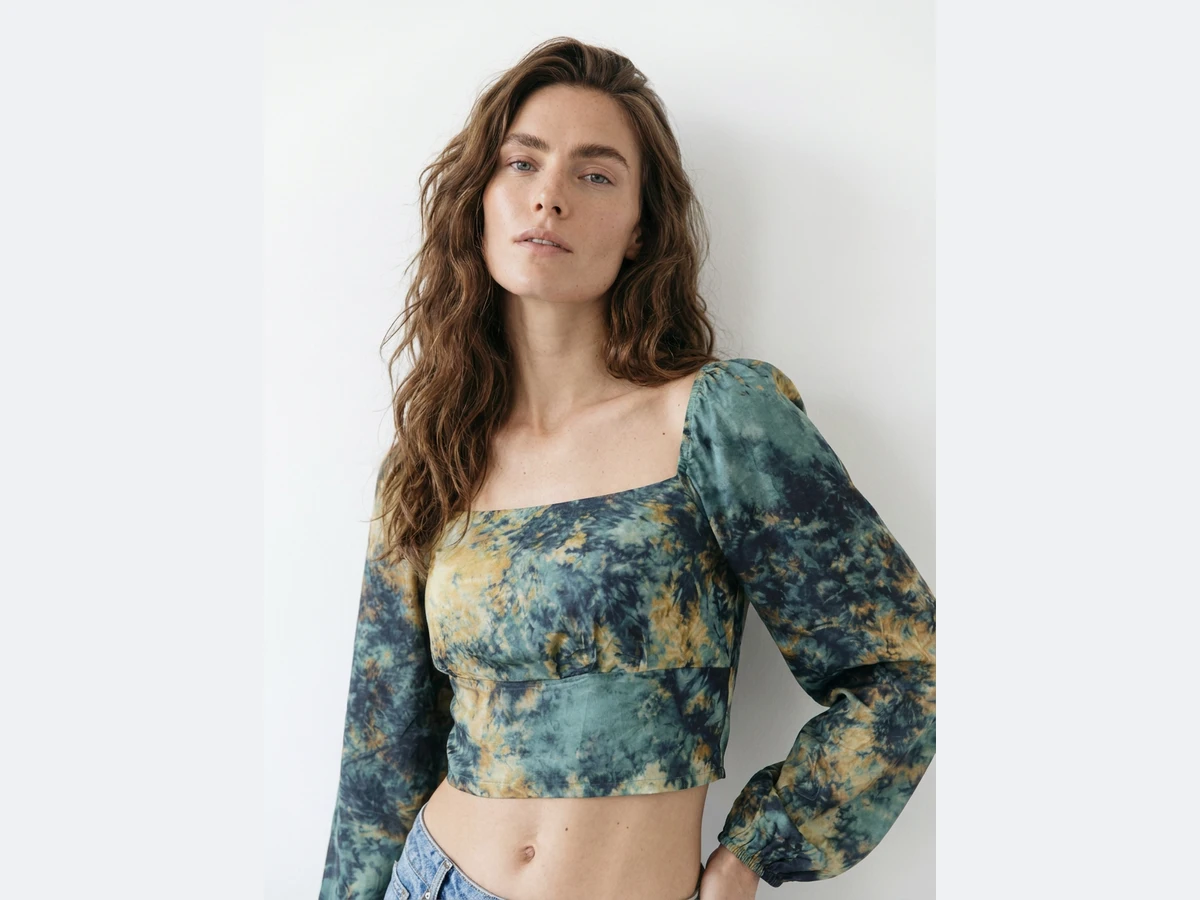
The only required section besides Products. The person in the slot keeps their face, hair, body and skin; only the clothes change. To dress the same person in a whole collection, keep using the same photo here.
Products
Up to three slots. With two or three pieces, all of them are worn together and kept visible. Put the main piece in the first slot.
Complete the look
A box for what is not in your photos: « dark straight jeans, white sneakers ». It completes the outfit around your piece instead of leaving the rest of the person's own clothes.
Framing and Angle
Framing sets the shot: Auto, Full body, Upper body, Portrait on face and neck, Close-up on the hands, Close-up on the feet, or Product detail worn on the body. Angle sets the camera: Auto, Eye level, Slightly above, Slightly below, or Low angle from the ground. The workflow adapts the view to the products, so Auto is a good start.
Modify physical features & pose
Short sentences that change the pose or a detail of the person while keeping who they are: « Chin up. Hands in the pockets. Back view. » Leave it empty and the workflow adapts the framing and the view to the products.
Scene
Describe the place in words, or give a photo of a place and the person is set inside it. Leave it empty and no place is imposed.
Format and Visual style
Format picks the image shape, Auto or a ratio from 9:16 to 21:9. Visual style applies one of your saved styles so the try-ons match the rest of your images; it needs a plan.
Standard, Pro or Ultra
Standard makes a 1K image for 1 credit. Pro makes a 2K image for 3 credits and needs a plan. Ultra makes a 4K image for 7 credits and needs the Pro plan.
Good to know
- Something is off? Press Generate again for a new take, or switch Framing so the garment fills more of the image.
- No model photo? Use Product to Model instead: it creates the person for you.
- One model, many products: bulk generation tries the same model on up to 30 product photos in one go on the Pro plan.
- The exact face across a series: see how to keep the same model across a whole collection.