How do I create an AI fashion model for my store?
Updated on November 3, 2026
What you need
- One photo of one of your pieces. A flat lay, a hanger shot, a ghost mannequin or a packshot, in JPG, PNG or WebP up to 20 MB. Your model is created wearing it, so pick a piece that represents the brand.
- A few words about the person. Who your customer wants to see: age, build, origin, hair, attitude. Write it down before you start, it is the brief of your casting.
- Or a photo of a real person, if you prefer to start from a face you already work with. Use only a photo you hold the image rights to.
Step by step
- 1.Open the AI model studio and press Workflows, then choose Product to Model.
- 2.In Model, keep Text and set Gender, Age, Body shape and Origin.
- 3.In Physical features & pose, describe what makes the person recognisable, for example Short curly auburn hair, freckles, chin up.
- 4.In Products, upload a photo of one of your pieces, and pick a Framing such as Full body.
- 5.Describe the Scene, for example White studio background, then choose Standard, Pro or Ultra and press Generate.
- 6.Generate a few takes and keep the face that suits your brand. That image is your model, and it stays in your studio.
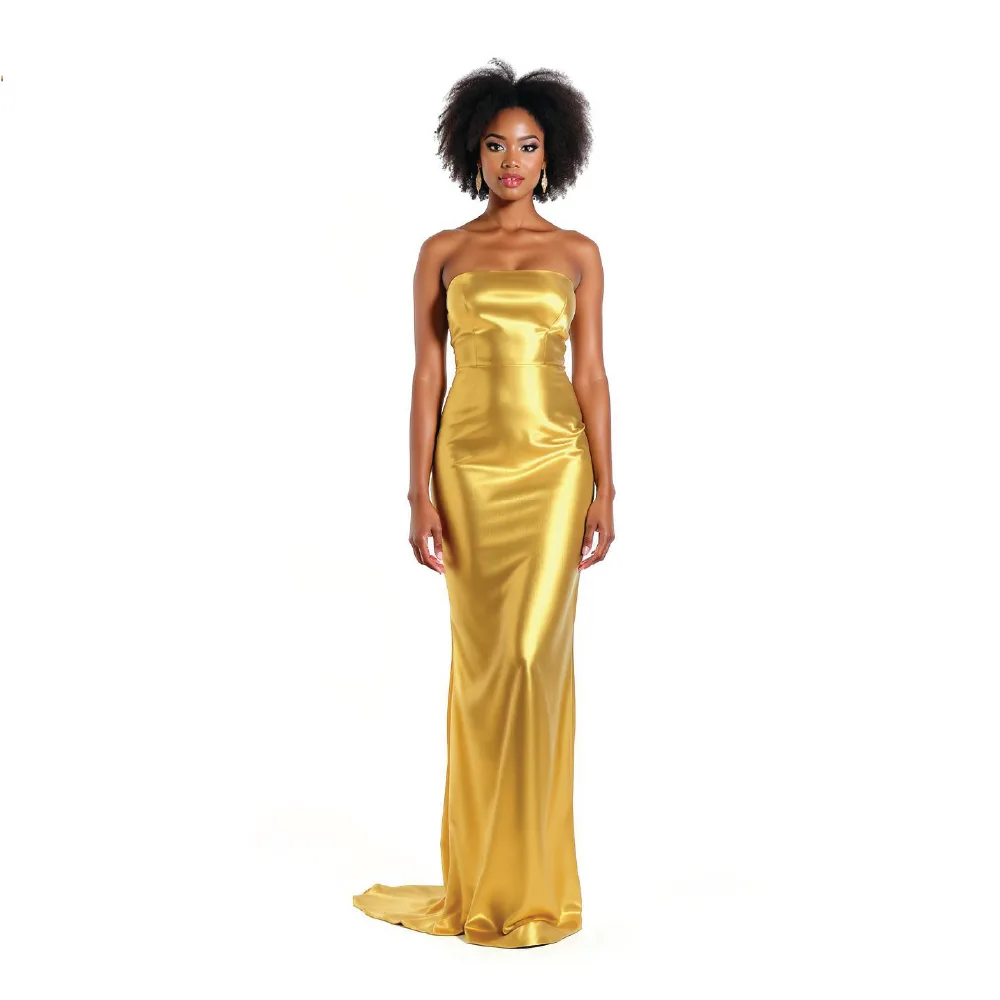
Gender and Age
Gender offers Woman, Man, Girl and Boy, and follows the age you pick. Age goes from 3 to 60: 3 to 16 for childrenswear, 20 to 60 for adults, in steps of five from 20. Choose the age of the customer you sell to, not the age of the clothes.
Body shape
Small size, Mid size, Plus size or Pregnant. Mid size is the default. Plus size and Pregnant change how the garment falls on the body, which is what a customer of that size wants to see before buying.
Origin
A menu of countries and regions. It sets the person's features and skin tone. Brands selling in several markets often create one model per market and keep them side by side.
Physical features & pose
The box that makes the face yours. Short sentences work best: « Long straight black hair. Thin silver glasses. Chin up. » It also carries the pose and the view: « one hand on the hip », « back view », « looking at the camera ». The Framing you choose fills in a matching pose for you, which you can rewrite.
Products and Framing
The model is always created wearing something: the pieces in Products, up to three. Full body shows the whole person and is the best start for a casting. Upper body or Portrait on face and neck shows the face larger, useful to judge it before you keep it.
Scene
A plain studio background makes the face easier to judge and the image easier to reuse. You can set the model in a place later, on the next products.
Standard, Pro or Ultra
Standard makes a 1K image for 1 credit, fast enough to try several castings. Pro makes a 2K image for 3 credits and needs a plan. Ultra makes a 4K image for 7 credits and needs the Pro plan. Many brands cast in Standard, then make the final images in Pro.
Start from a ready face instead
In Model, switch to Image, click the slot and choose a face from the Models presets, or upload a photo of a person you have the rights to. The garment in Products is then worn by that person. This is also how you reuse the model you just created: put its image in the slot.
Good to know
- Keep the image, not the words. Two runs of the same description give two different people. The way to get the same person again is to reuse the image you kept, as explained in how to keep the same model across a whole collection.
- Several models for one brand. Keep one image per line or per market, and put them in a project so the team finds them.
- Your models are private. What you upload and generate stays in your account and is never used to train anything.
- Next step: dress your model in the rest of the range with Product to Model, or in a garment on a real person with virtual try-on.