How do I ask the AI agent to create images for my products?
Updated on November 9, 2026
- 1.Open the Studio and press the agent's button, next to the product menu at the top of the page.
- 2.Press the plus button beside the message box and attach one photo per product: a flat lay, a hanger shot, a packshot or a ghost mannequin.
- 3.Write what you want in one message: who wears it, the framing, the background, the format and the quality.
- 4.Read its plan, the workflow it will use and what it costs, then answer yes.
- 5.Find the images in the conversation and in your Studio gallery, and ask for a change if one is not right.
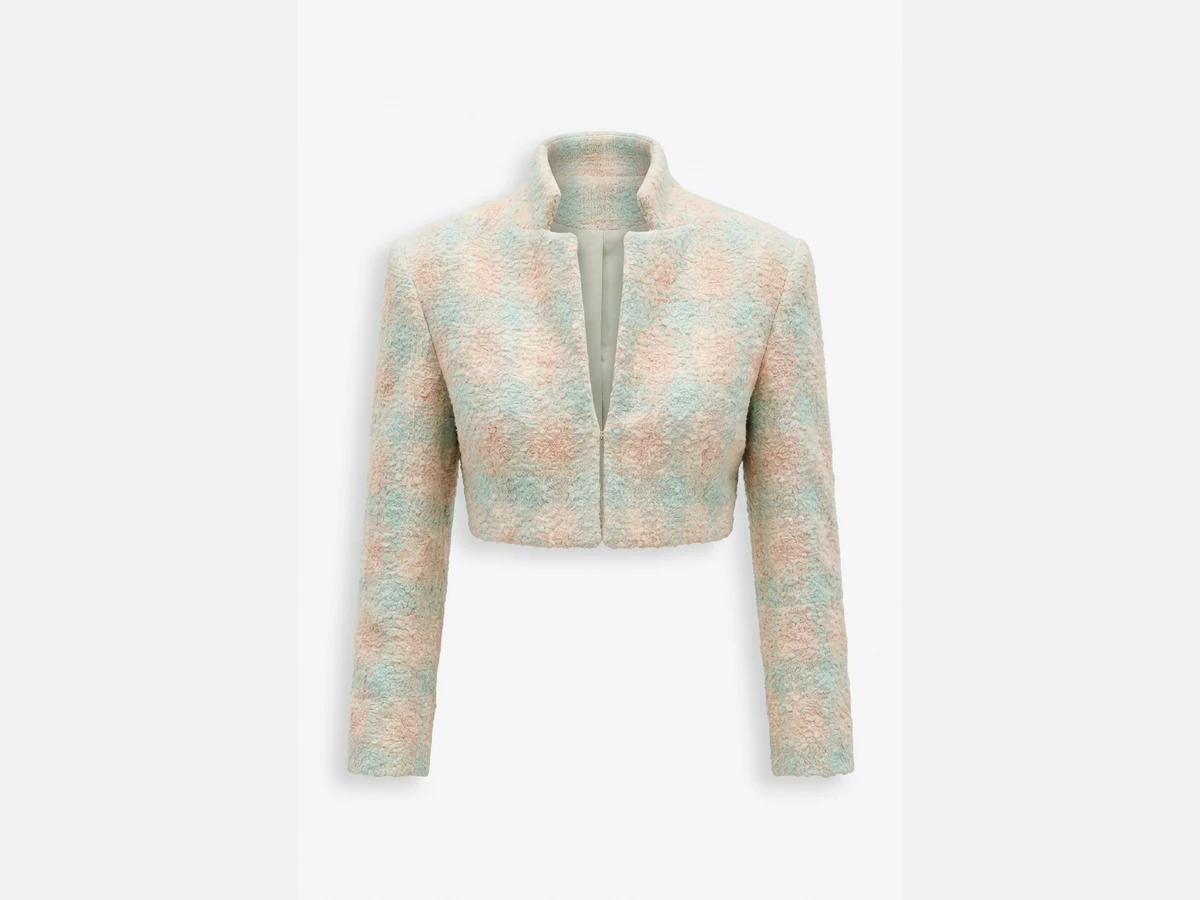
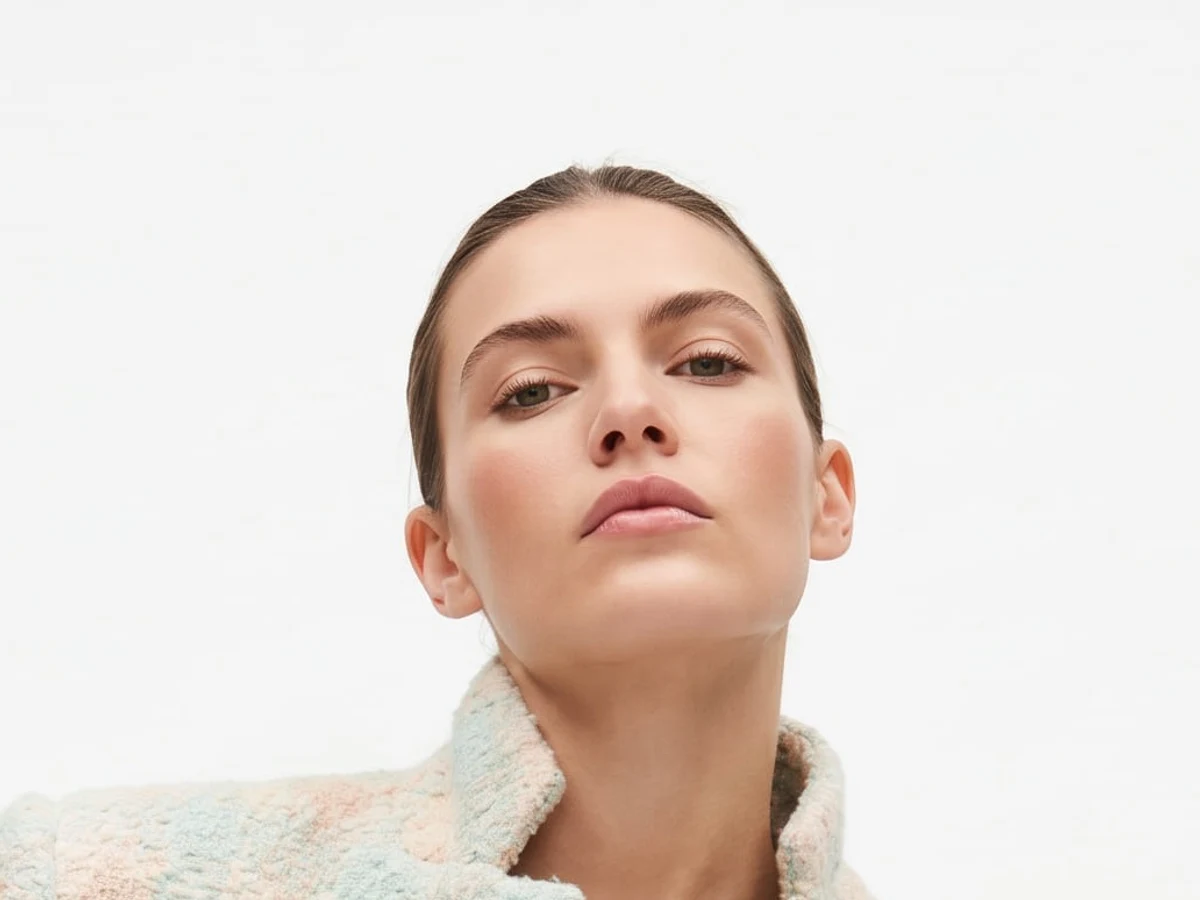
What to write
The agent asks for what it is missing in one question, with a default for each choice, so a short request is enough to start. You get the image you want faster when you say:
- The person. Woman or man, an age, a body shape, an origin, hair and attitude.
- The framing. Full body, upper body or a close portrait.
- The scene. A plain studio background for a product page, a street or a terrace for social.
- The format. A ratio such as 3:4 for a product page or 9:16 for a story.
- The quality. Standard for a quick try, Pro for 2K, Ultra for 4K.
It chooses the workflow for the job: Product to Model for a product on a model, Image to Ghost Mannequin, Image to Flat Lay, Product 360, Virtual Try-On to dress a person you already have, Change Background, and the others of the Studio. If you name a workflow, it uses that one.
From a creation you already have
Open the creation in the Studio and press the button with the agent's face, top right of the picture. The agent opens with that image attached. Ask for a new background, another colour, another model or a video: the new version joins the same image's lineage instead of landing as a new tile. To make an image sharper or bigger, ask for an enhancement in 2K or 4K rather than a new generation, which would give a different picture.
From your Shopify products
With your store connected, name the products instead of attaching photos: « make a white studio image on a model for every product without one ». The agent lists your store, uses each product's own photo, and files each new image under its product, unpublished, in the Shopify view of your gallery. You publish it from there, unless you switched off Ask before posting for Shopify. See Can the AI agent work on my Shopify store?
A whole series at once
For the same treatment on many photos, the agent runs a bulk batch, as the Studio's Bulk window does: one image per photo, the same settings for all, in one project. Bulk starts with the Pro plan, up to 30 images per batch on Pro, 50 on Business and 100 on Enterprise. Each image is charged as it starts, and a batch that runs out of credits stops by itself.
The same model on every product
Attach the image of a model you kept as well as the product, and say « the same model ». The agent puts that person in your product. To create the model first, see How do I create an AI fashion model? and How do I keep the same model across a whole collection?
Good to know
- The price comes first. Above the number set in Ask me first above, 10 credits by default, the agent shows a plan and an estimate and waits for your go. Change it under Manage, in the agent's window.
- Quality follows your plan. Pro needs a plan, Ultra and 4K need the Pro plan, as in the Studio.
- Two tries, then another route. If a second attempt leaves the image as it was, the agent stops and proposes another workflow rather than spending a third time.
- Painting an area is yours. Edit an Area needs your brush stroke, so the agent tells you where to do it.
- A failed image is refunded. The credits come back, and the agent tells you what went wrong.
- What a good photo is: What kind of photo should I upload?