How do I use AI fashion models?
Updated on November 9, 2026
- 1.Open the AI model studio and press Workflows.
- 2.Choose Product to Model if you only have a photo of the product, or Virtual Try-On if you also have a photo of the person.
- 3.In Products, upload a photo of your piece, and up to two more to dress a full outfit.
- 4.In Model, describe the person in words, or put a face in the image slot.
- 5.Pick a Framing, describe the Scene, choose Standard, Pro or Ultra and press Generate.
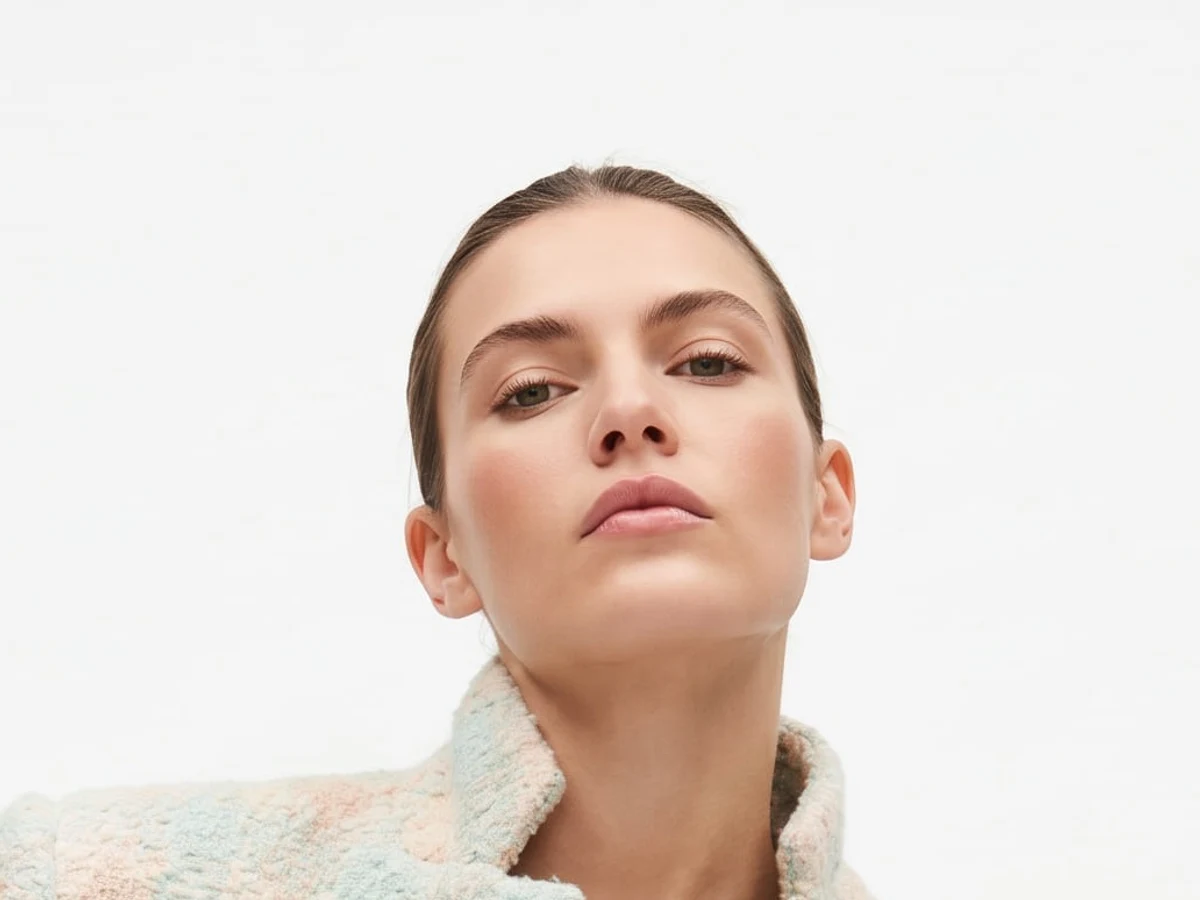
Way 1: describe the model in words
In Product to Model, keep the Model section on Text and set Gender, Age, Body shape and Origin, then add a line in Physical features & pose, for example « Short curly auburn hair, freckles, chin up ». The studio creates a new person wearing your piece. This is the way to cast a model from nothing, and the full walkthrough is in How do I create an AI fashion model for my store?
Two runs of the same words give two different people. When you like a face, keep that image: it becomes your model for the next products.
Way 2: choose a ready face or your own model
In Product to Model, switch the Model section to Image and click the slot. You can pick a face from the Models presets, the image of a model you generated before, or a photo of a real person whose image rights you hold. Your garment is then worn by that person, with the same face from one product to the next. This is how a brand keeps one model across a whole range, explained step by step in How do I keep the same model across a whole collection?
Way 3: dress a person you already photographed
Virtual Try-On starts from a photo of a person and changes only the clothes: the face, the hair, the body and the pose are kept. The Model slot is required here. Use it with a photo from a past shoot, a model you generated, or a face from the presets. See How do I put my clothes on an AI model with virtual try-on?
Which one to choose
| You have | Use | Model section |
|---|---|---|
| A product photo only | Product to Model | Text |
| A product photo and a face you want to reuse | Product to Model | Image |
| A product photo and a photo of the person | Virtual Try-On | Image, required |
| A finished photo with the wrong person in it | Swap Model | Describe the new model |
Product to Model reads a flat lay, a hanger shot, a ghost mannequin shot or a packshot. The detailed guide for that photo is How do I turn a flat lay photo into an on-model image?
The settings that shape the image
- Products: up to three slots, at least one required. Two or three pieces are worn together.
- Complete the look / add details: what you did not photograph, such as « white sneakers, a thin gold belt ».
- Framing: Auto, Full body, Upper body, Portrait on face and neck, Close-up on the hand, Close-up on the feet, or Product detail worn on the body.
- Angle: Auto, Eye level, Slightly above, Slightly below, or Low angle from the ground.
- Scene: a background in words, such as « White studio background », or a photo of a place.
- Format: the shape of the image, from 9:16 for a story to 21:9 for a banner.
- Visual style: one of your saved styles, so every image shares the same light and mood. It needs a plan.
Standard, Pro or Ultra
| Quality | Image | Credits per image | Who can use it |
|---|---|---|---|
| Standard | 1K | 1 | Every account, with or without a plan |
| Pro | 2K | 3 | Any plan |
| Ultra | 4K | 7 | From the Pro plan |
The price is written on the Generate button before you spend anything. Many brands try castings in Standard and make the final images in Pro or Ultra. Every price is in How many credits does each workflow cost?
Good to know
- Check each image as a product photo: the colour, the print, the closure and the hands. Press Generate again for a new take if something is off.
- A whole catalogue at once: bulk generation runs Product to Model or Virtual Try-On on many product photos in one go, from the Pro plan.
- Your images are yours: what you upload and generate stays in your account, and you can use the results commercially on any plan.